Wednesday, February 12, 2020

We Have Blinds!

This has been a looooong saga around here so go ahead and grab your bag of chips. 

Shortly after Christmas we decided to head to Home Depot and pick out blinds for the ten windows in our house. I had done a fair amount of research into blinds and has come to the conclusion that we either needed to order them from Amazon or get them from Home Depot. We liked a lot of online options but they were out of our price range (if we were millionaires I would 100% have remote operated shades FYI) so we needed to head to the store to pick out what we wanted.

Anyways, I had decided on wood blinds and that was a complete disaster.


I desperately wanted an inside mount but because our windows are technically replacement windows they weren't deep enough to hold the wooden blinds.

Tim put up one in our guest room just to test it out...


....and we hated it. It looked dumb poking out from the window and would've meant that we 100% needed to get curtains and I'm not sure I want the look of curtains....so we took it down.


See weirdly poking out right?! Anyways, we headed back to Home Depot, returned our wooden blinds and spent some time in the aisle making another decision.


We ended up going with a cordless cellular shade which they of course didn't have everything we needed. So we ordered online and waited for them to come...


Okay, so not the best picture...but they are an inside mount and I think they look great! Although it's not what I originally would've picked I am thankful that now we don't have to get dressed in the dark. Another bonus is that they weren't super expensive so if anything happens to one we could just repurchase another one, 


I think they look great from outside too!

Also how sad does my front garden look right now? I have some big plans for this baby this summer!!

What window treatments do you have in your house?

Monday, February 10, 2020

Chicken Pot Pie Recipe

Happy Monday! Today I'm going to share with you a simple chicken pot pie recipe that I learned from Kelly Marie over on YouTube. I slightly altered from how Kelly made hers but I really love how they came out! I ended up making enough for two pies but I will list everything as if you are going to make one pie to make it easier.

If you check out Kelly's recipe you'll notice I made my chicken differently and I didn't include a veggie that she did but I was pleased with how mine came out so you could really do it either way, or change it up and make it your own!

Here's what you'll need: 

Frozen pie crust 
Rolled pie crust
1/4 cup peas
1/4 cup carrots
1/4 cup onions
1/4 cup potatoes
1/4 cup celery
1/4 cup corn (I cut mine right off the cob)
2 cups shredded chicken
1 Tbsp minced garlic
Can of cream of chicken soup
1/4 cup whole milk
Salt
Pepper
Olive oil (Tbsp)

(All veggies should be cut up into small pieces. I made mine super small due to my preference)

So I immediately got to boiling. I cut up my potatoes and carrots and tossed them on the stove in boiling water. I added the peas and corn as well. 

In a separate pot of boiling water I boiled a chicken breast with some salt and pepper until I could shred the meat easily.

I laid out my pie crusts so they would thaw a little bit before needing them.

In a big pot I began to sauté the celery in olive oil. After a couple of minutes I added the onions and continued to sauté them. After another couple of minutes I added in my minced garlic.

I strained all the veggies I boiled and then shredded all the chicken.

After a couple of minutes of the garlic in there I added everything else into the pot. All the veggies, chicken, milk, and the cream of chicken soup. I also put in salt and pepper. I didn't measure that out, I just did it based on what I thought would taste good.

After five minutes of letting this all cook I scooped the mixture out and put it in my pie crust.

I took the rolled pie crust and placed it over the top, cut off the excess and then pinched the sides to close it.


Here are my pies ready to go into the oven!

I poked holes on top and placed them in the oven for 30 minutes on 350*


Sophie was very interested!


It came out smelling great! After the 30 minutes, let it sit for a few minutes and then dig in!


This was such an easy recipe, there was just a lot of prep work cutting up and preparing all the veggies. Kelly made seven pies in her video and she freezes them for easy meals which I think is a wonderful idea! I made both and cooked them immediately knowing that we can easily eat them for lunch and dinner throughout the week. 

I love Kelly's videos, particularly all of her cleaning motivation videos and you should 100% go check out her channel!

Let me know if you try out this recipe!


Wednesday, February 5, 2020

Organized Kitchen Drawers

I know we've only been living here a few months but it takes no time at all to have all the kitchen drawers get unorganized! 

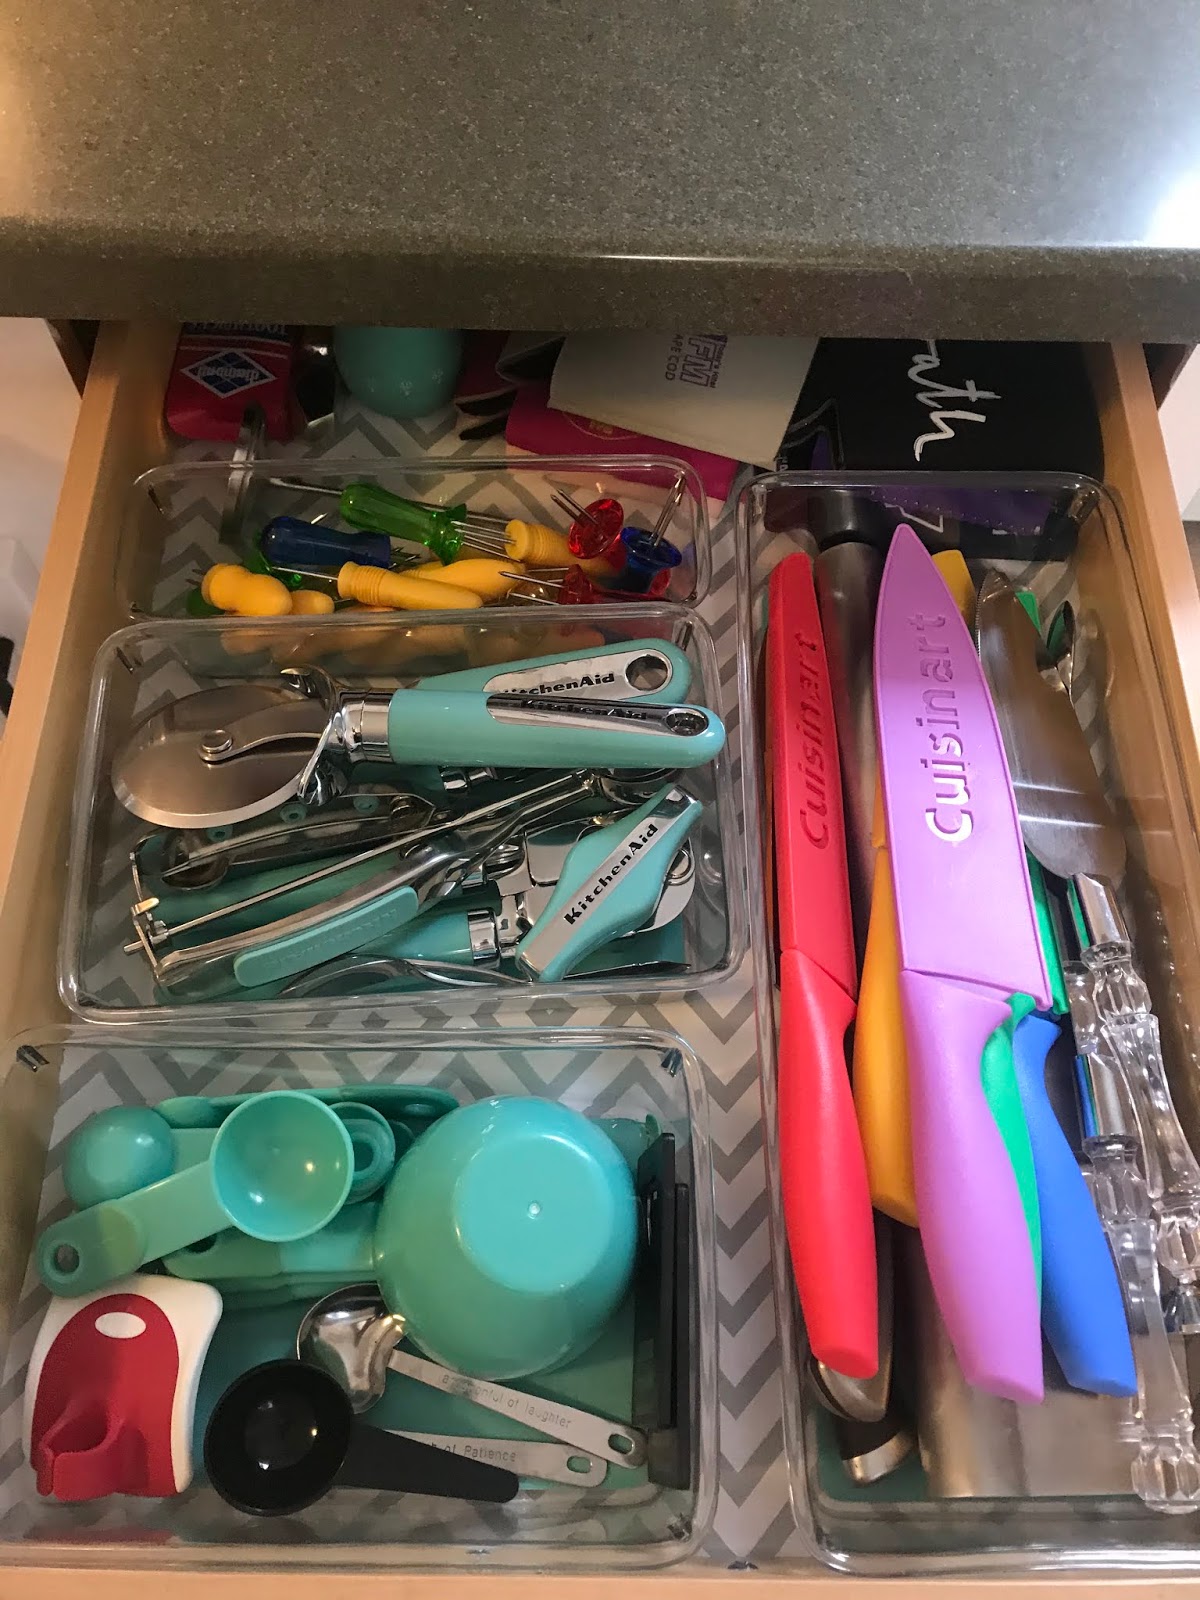
When we moved in I didn't do the best job of organizing things and just kind of tossed everything in drawers and cabinets in order to get it out of boxes. I had decided to line the inside of each drawer so I had a good excuse to pull everything out and reorganize it!


My knives and cooking tools were everywhere! I used these teal bottom bins from Target in order to section things off and keep the drawer looking nice. Yes, the teal Kitchenaid tools are my jam! I picked these out for my bridal shower and everything looks so nice together. Can you tell what my favorite color is?


My silverware lives in this silverware container from Target and takes up the majority of the drawer. I kind of just lined everything else up neatly for now.


My plastic wrap, tin foil, and baggies are all neatly lined up in this drawer.


Sophie's treats (and medicine from her hurt shoulder) live in this drawer. We also have a treat container that lives on our counter but this is for smaller treats.


This drawer holds dish towels and extra napkins and plasticware. 


Out junk drawer holds no junk! Everything in here is useful and organized!


This small drawer is the perfect size for our pot holders. 

I love having things organized and although you often have to touch up areas like this in order to keep them organized hopefully I won't have to do a huge overhaul like this for awhile!

Do you have your kitchen drawers organized or are they a total disaster?

Monday, February 3, 2020

Little House Updates

We've done a few little updates around the house lately and I thought I'd share them with you guys!

These are super small updates but made a big impact in our home.

The first has to do with recycling. I am a huge promoter of recycling and we generally have a completely filled outdoor recycling bin every week. We always have more recycling than trash, a fact I am very proud of, so why was our recycling bin so tiny?


This was our setup before, trash on the left, recycling on the right. Often the recycling was overflowing and we had to either empty or move it everytime we left the house because we were worried Sophie would get into it. 

In HomeGoods I was browsing the clearance section as I like to do and found a bunch of trash bins with lids for only $22! I picked one out that I liked and Tim carried it out of the store for me.


It would definitely look better if they matched, but I am thinking about getting a recycling sticker to put on the top so it will be easier for guests to know which is which.

Tim asked if it was silly that we had a bigger recycling than a trash but I said no because we have so much recycling every week! Also, trash is better taken out more frequently since food trash starts to smell.

Next up is our wedding guestbook!

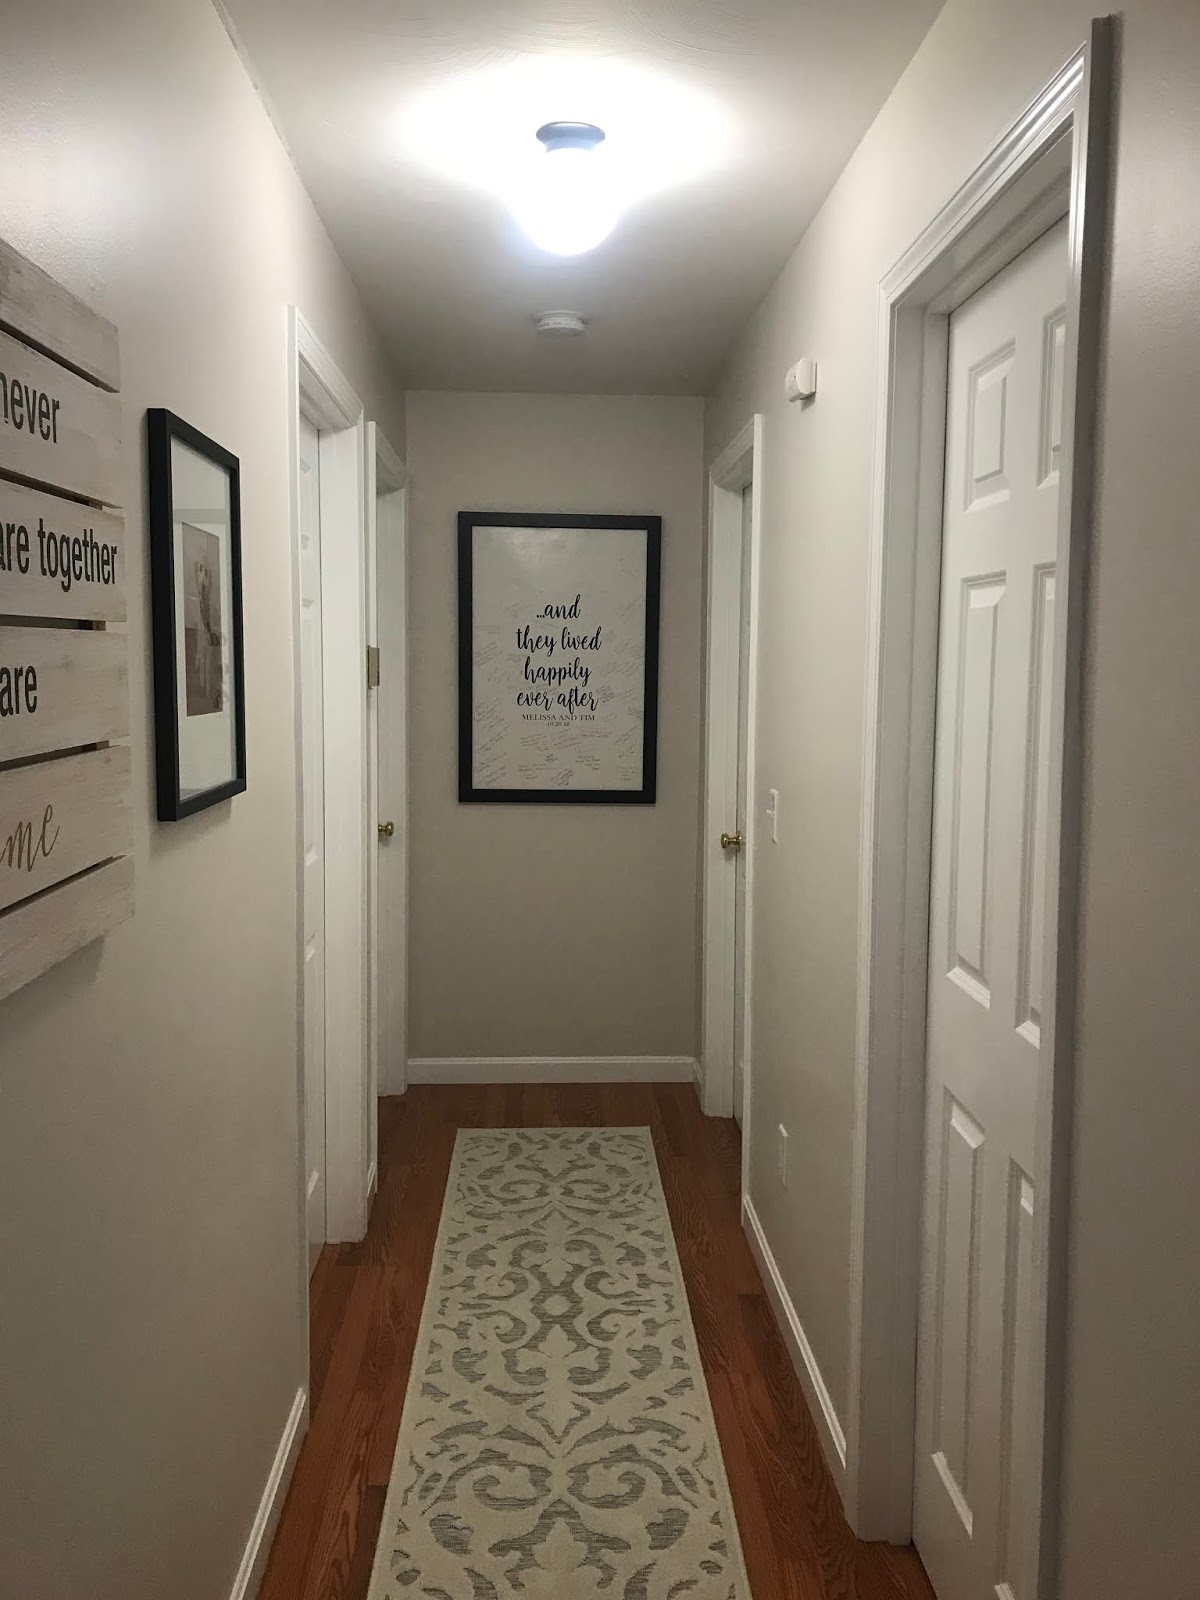
We finally got it custom framed. You might remember I tried to stick it in a poster frame but unfortunately it was too thick and it wouldn't stay put. Now we have it in a custom frame from Michael's and it looks great!


To see a closer up version you can check it out here and here. It was made by a family friend, Kate, and you can find her at KaitlynsOccasions

The last is a really small update and just involved us getting a new toothbrush holder. Our old one was literally falling apart and I had cut my hand on it a couple of times. Eventually we want to redo the whole bathroom so I was trying to hold off, but for only a few dollars I bought a pretty marble one from HomeGoods and it makes me happy!


Any small (or big) changes going on in your home lately?

Wednesday, January 29, 2020

January Barkbox and Sophies Half Birthday!

Today we are talking about Sophie's January Barkbox and also her Half Birthday!

Sophie's Barkbox arrived last week and she is always obsessed with the contents!


How cute is she when it arrives?! What a little sweetheart.

We always get so much use out of the toys and she is obsessed with all the treats.


This box had a snowman which broke apart into three pieces. There is the body, the head (which holds treats) and the stick arms that can also be removed and make a great fetch toy.


I was a little surprised since all of these treats had some sort of fruit or vegetable in them that Sophie ate them! She often doesn't go for treats with fruits or veggies but she loved them! 


The long term chews are getting less long term but are still her favorites.


I'm sorry this picture is so blurry but the other toy she received in this box was a winter hat. I kept trying to put it on her head but she wanted to just squeak it. 


Here is the snowman with the treats popped in him. 


Here is the other bag of treats she received. She loves these too!


Another long term chew! This was a great box and Sophie loved every item inside. If you haven't gotten a Barkbox for your dog yet definitely order it right now!! Here is a referral link for you if you want it: Try Barkbox

Also last week we celebrated Sophie's half birthday! She turned 6 months old and we can't believe she is getting so big so fast!


Tim ran out and grabbed her a birthday cookie that we cut in half for her half birthday. Of course she didn't like it, but don't worry we had plenty of other treats for her too! 


Oh gosh I just love my little family so much. 

Do you celebrate your dogs birthday? What about half birthdays? Are we totally insane? :)

Have a great day everyone!


Monday, January 27, 2020

Living Room Updates

Hi again! Today I'm showing you some living room updates we made! Every corner of our house is a work in progress and I'm quickly learning that even when I say something is "done" I mean "done for now" 

If you are on Instagram check out MyTexasHouse who has a house that is GOALS but also continually is changing things which just goes to show that even when your house looks perfect you can still want to change things up!

So today is all about our living room updates. I finally convinced Tim to hang up our Etsy sign from Pallettes and Peonies. I saw this originally on The SunnySide Up blog and absolutely loved it. 


We debated where on the wall to place it but ended up going just about center. I am considering putting a shelf on either side of the sign but I haven't fully decided yet. I just don't want it to look overcrowded, I much prefer a very simple and clean look.


If you have any suggestions please leave them in the comments!


This is what the view of it looks like from the kitchen. Very simple but at least there is something on the wall now!


The other new update in our living room is our new coffee table....


Instead of the bulky, wooden top coffee table now we have a smaller, bright white table. I love that it matches our small table from At Home.


I picked up this new coffee table at Wayfair and I'm so glad it helped pull the room together.


Sophie just loves to jump in every picture that I take of the house :)


I think this coffee table fits the space much better than the other one did. It also is a lot lighter weight and just brightens up the whole living room.


I also pulled Sophie's old bed out of the living room. Girl doesn't need two beds in the living room right?! We also picked up a new bin from HomeGoods to hold some of her toys because her toy bin was overflowing! Little spoiled pup.


I don't feel like this room is complete at all despite getting a new rug, new table and new wall art in here. I definitely am considering another small table and lamp in the back corner by the side of the couch. Like I mentioned before I am still figuring out if I want anything else on the wall. I also still want to change out the fan, which is a project for another day.


We have been living without coasters for awhile in fear that Sophie would eat them. While at HomeGoods I found marble coasters that are super heavy. I know that Sophie won't be able to eat them and they look great and fit into the aesthetic that I'm going for.


While I look at the pictures I can see how badly our couch needs to be cleaned, I desperately need to order a steam cleaner.


Here you can see our new toy bin how much less crowded it is with only one bed! I still am figuring out how I want to set everything up. I know I keep saying that everything isn't complete but I'm sure everyone is feeling the same about their own homes. In this picture you can also see our new little door mat that I picked up from Amazon. I actually picked up two of these and put one by the kitchen side door as well. I'm not 100% sold on them but they were only $17 a piece so they work for now!


Here are the marble coasters from HomeGoods. They are heavy and solid and work great!


Clearly someone is interested in them :)

So those are the updates to our living room! I will keep you updated as we make more updates!


Wednesday, January 22, 2020

Food Storage When You Don't Have A Pantry

I feel like almost everyone in America has a pantry in their kitchen. Unfortunately we don't and that was a bummer when we fell in love with our house. The good news is I can share how we are creating more spaces for food storage and how we make it work in our house. Let me know if you have a pantry in the comments!

We have a double cupboard we have dedicated to food storage. It originally had three shelves inside but I decided not to put one back in after we painted our kitchen cabinets. I thought this was a great idea but in reality it made more sense to have all three shelves for more storage so I ended up putting it back in this past weekend. 

Let's start by cleaning up and cleaning out! I pulled everything out of the cabinet to throw away anything expired and organize what we wanted to keep.


We have so much candy right now. There is still leftover candy from Halloween and we accumulated more candy over Christmas. I guess we will be sharing with guests for quite some time!


At this point I had emptied out the bottom shelf and put all the contents on the counter. See how much room the bottom shelf had? It was a little ridiculous and I felt like we were just piling things on top of each other and it was just creating a huge mess!


Here's the after! It's certainly not as Pinterest perfect as many pantries I see on The Home Edit Instagram page but it is functional and works for now! With having three shelves there is less room for stacking and that will hopefully keep us a little more organized!

Our basement door is right next to this cabinet so I use the back of the door for a little more storage. 


We purchased this unit from The Container Store back when we lived in our apartment. It worked great in our pantry there and also is doing a great job on our basement door.


It works really well for canned goods and other condiment containers that are unopened.

The last place we are storing food is on shelves on our basement stairs. 


Tim and my dad installed these three shelves from Home Depot and I am so thankful for this extra storage space.


This area is great for rice and other unopened grains.


We also use it to store pasta, unopened chips, potatoes, and coffee.


The built-in shelf underneath holds all alcohol, which we have a ton of and I'm not sure how we accumulated all of it!

So that's how we store all our food without a pantry. It may not be Pinterest worthy but it certainly woks for us while we don't have a pantry! 

Let me know if you have a pantry and how you store all your food!

Have a great day everybody!